The heating and cooling in my new home was controlled by an app running on a cheap android tablet mounted on the wall called MyAir. That tablet is directly wired to a control unit, but you can install an app on other mobile devices (IOS/Android only) that communicate with the tablet to control the air conditioning/heat (and lights if you have that feature; I do not). The app is limited in the options it provides and I wanted more control over my air conditioning from any device (including PC’s). I decided to see if this was possible. I started out planning to write a simple webpage to display the temperatures throughout the house and simply control things, but then decided to leverage an existing project for home automation called “Home Assistant” This made it both quicker and easier to integrate with other home automation technology.
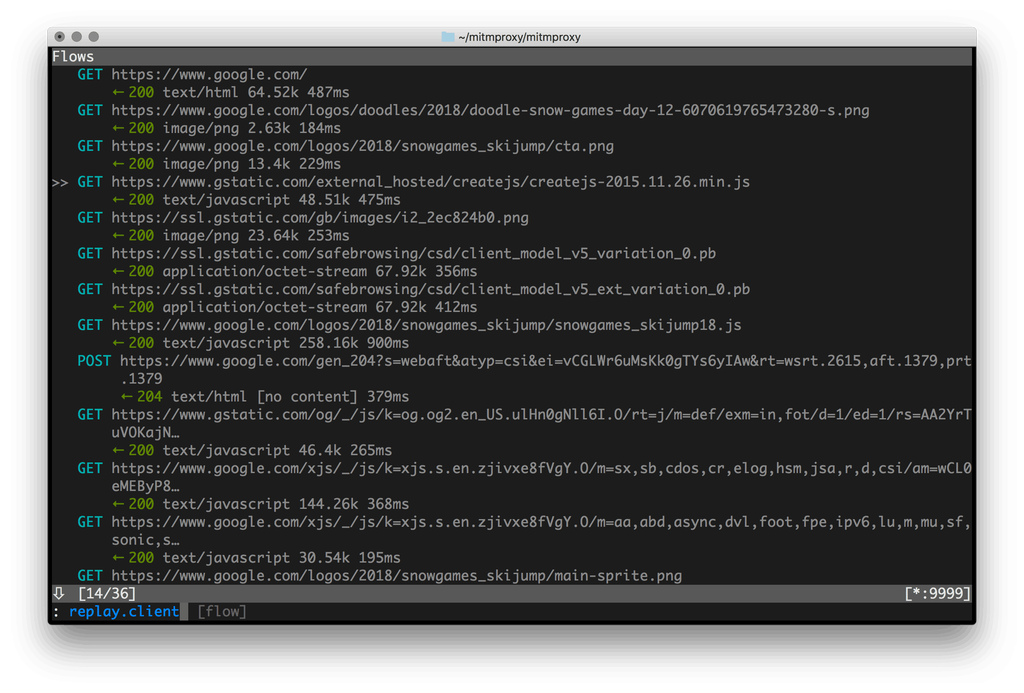
The first thing I needed to do was to see if there was an API and if it was open. Without both of those, it would be much more difficult to code a solution. I started by sniffing the traffic from the app on my android phone. The first step in that process was to get mitmproxy running on my network. I installed it on an existing raspberry pi on my network.
Installing and running mitmproxy is simple, and covered well here: http://docs.mitmproxy.org/en/stable/install.html
The next stop was to set up that proxy on my android device, and then using the app to change some settings in my Air Conditioning system so I could see the API calls.
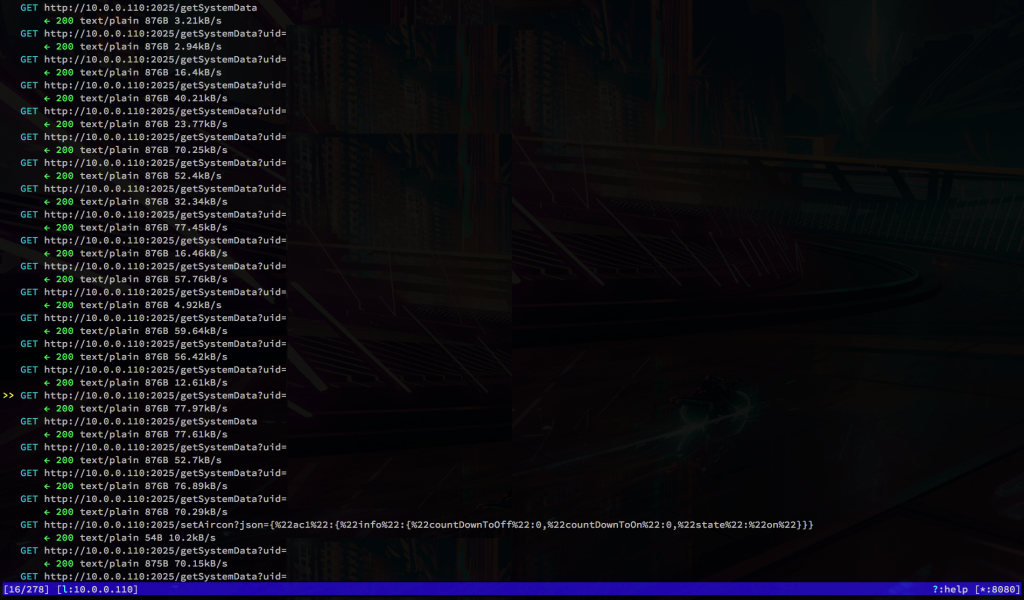
The app uses an API with no authentication, that runs over HTTP. Because of this I was able to quickly determine the endpoints for displaying the current temperature in every room which was my first goal with this project.
I then got Home Assistant (referred to as ‘HASS’ going forward) up and running on a raspberry pi (which is also running as a DIY google home, https://aiyprojects.withgoogle.com/voice/, giving me the future ability to control HASS with my voice). There is an image based version of HASS (https://home-assistant.io/hassio/installation/), designed for raspberry pi’s and this is the easiest way to get HASS up and running. As I already had lots of software and configuration done on the raspberry pi for different projects, I decided to use python virtual environments instead. This had the added benefit of giving me more practice working with python virtual environments. I followed the install guide here: https://home-assistant.io/docs/installation/virtualenv/ and was up and running without hassle.
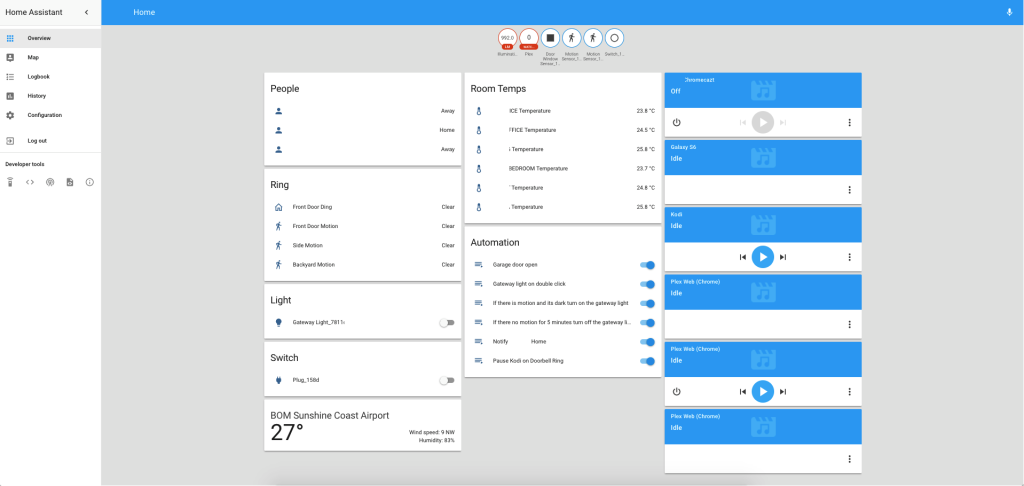
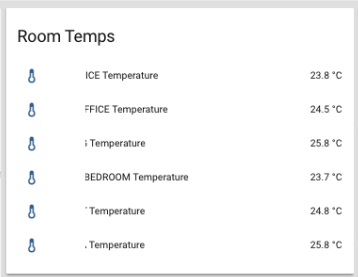
I then had to write a custom sensor in order to display this information in HASS and be able to use the information dynamically in other automations and alerts. HASS configuration is all done in YAML, and the sensor I wrote is written in python (which I have been trying to learn). Through HASS’s documentation (https://home-assistant.io/docs/, https://home-assistant.io/cookbook/) and other people’s completed sensors (https://community.home-assistant.io/, https://github.com/search?q=topic%3Ahome-assistant-config&type=Repositories) I was able to get a working sensor together over the course of a few hours. I can now see the temperature in every room with a temperate sensor installed, and going forward will be able to automatically adjust the temperature in those rooms based on occupancy, time of day, and any other sensing available to HASS (which is extensive).
That sensor is available here: https://github.com/sclarkso/hassio.
Comments